
Dometic climate control relies on precise wiring; a manual guides successful installation and operation‚ ensuring comfortable RV journeys with proper thermostat function.
Understanding Dometic RV Climate Control Systems
Dometic RV climate control systems are engineered for reliable comfort‚ often integrating air conditioning and heating into a unified system. These systems frequently utilize a central “black box” control board‚ managed by either dedicated thermostats or increasingly‚ integrated touchpads like those found in One-Touch RV setups. Understanding the interplay between these components is crucial for effective troubleshooting and wiring.
The systems often involve hardwired connections‚ particularly utilizing Cat 5 cabling to link the thermostat (or control board) to the central unit. Proper configuration‚ including DIP switch settings‚ is vital for zone recognition and optimal performance. A manual detailing the wiring diagram is essential‚ as variations exist based on the specific model and RV installation. Ensuring correct wiring prevents issues like lack of power or unresponsive AC/heating.
The Role of the Thermostat in RV AC/Heating
The thermostat serves as the central command for your Dometic RV’s climate control‚ dictating when the air conditioner and heating system operate. It receives temperature readings and‚ based on your settings‚ signals the control board – often the “black box” – to activate cooling or heating. Correct wiring‚ detailed in a manual or wiring diagram‚ is paramount for proper function.
Whether a CCC 2 model or a digital series thermostat‚ it communicates via specific wires (red‚ white‚ Cat 5) to the control board. A malfunctioning thermostat‚ or incorrect wiring‚ can lead to issues like no power‚ unresponsive AC‚ or heating problems. Understanding its role and the associated wiring is key to maintaining a comfortable RV environment and resolving potential climate control issues.
Dometic Thermostat Models & Compatibility
Dometic offers various thermostat models‚ like the CCC 2 and digital series; a wiring manual ensures compatibility and correct installation for optimal RV climate control.
CCC 2 Thermostat Overview
The Dometic CCC 2 thermostat is a widely used model in many RVs‚ often functioning as a central control point when integrated with a Dometic “black box” control board. A detailed wiring manual is crucial for proper setup‚ as it frequently connects via a Cat 5 cable to this control board‚ operated by an indoor touch pad.
Understanding DIP switch settings‚ as outlined in the manual‚ is essential for system recognition and zone configuration. The CCC 2 doesn’t always directly control the AC unit; instead‚ it sends signals to the black box‚ which then manages the AC and heating functions. Correct wiring‚ referencing the manual‚ ensures seamless operation and avoids common issues like lack of power or unresponsive AC.
Digital Thermostat Series – Features & Differences
Dometic’s digital thermostat series offers varied features‚ impacting wiring and configuration; A comprehensive manual is vital‚ as LCD display variations exist depending on the installed system. These thermostats often integrate with “One-Touch” RV systems‚ requiring specific wiring adaptations – sometimes necessitating cutting the original plug to connect directly to the black box via a Cat 5 cable.
Key differences lie in zone control capabilities and compatibility with various AC/heating units. The manual details how to set DIP switches for correct system recognition‚ crucial for multi-zone setups. Proper wiring‚ guided by the manual‚ ensures optimal performance and avoids issues related to gas system interactions or incorrect temperature readings.
Wiring Basics: Essential Components
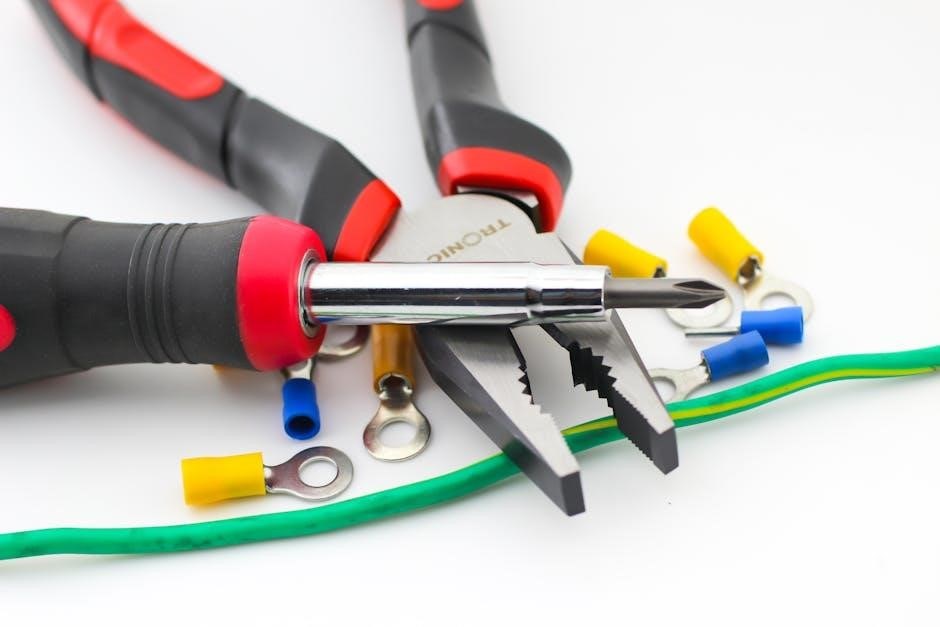
Essential components include red and white heater wires‚ a Cat 5 cable for the black box‚ and spade terminals; a manual details proper connections.
Identifying Key Wires (Red‚ White‚ Cat 5)
Understanding wire colors is crucial for successful Dometic RV thermostat wiring. The heater circuit typically utilizes a two-wire cable consisting of a red and white wire – these are key for heating functionality. The Cat 5 cable is vitally important‚ establishing communication between the thermostat and the Dometic black box control board.
This connection‚ often hardwired‚ allows the indoor touch pad to operate the climate control system. Correctly identifying these wires‚ as detailed in a wiring manual‚ prevents incorrect connections and ensures proper operation of both the air conditioning and heating systems within your RV. Misidentification can lead to system malfunctions‚ so careful attention is paramount.
Understanding the Dometic Black Box Control Board
The Dometic black box serves as the central hub for your RV’s climate control system‚ receiving signals from the thermostat and controlling both the air conditioner and furnace. It’s often connected via a Cat 5 cable‚ facilitating communication with the indoor touch pad for operation.
A manual detailing the wiring diagram is essential for understanding its inputs and outputs. This board manages zone configurations and DIP switch settings‚ crucial for system recognition. Proper functionality relies on correct wiring to the black box; troubleshooting often begins here. Understanding its role is key to diagnosing and resolving climate control issues within your RV.
Spade Terminal Connections & Usage
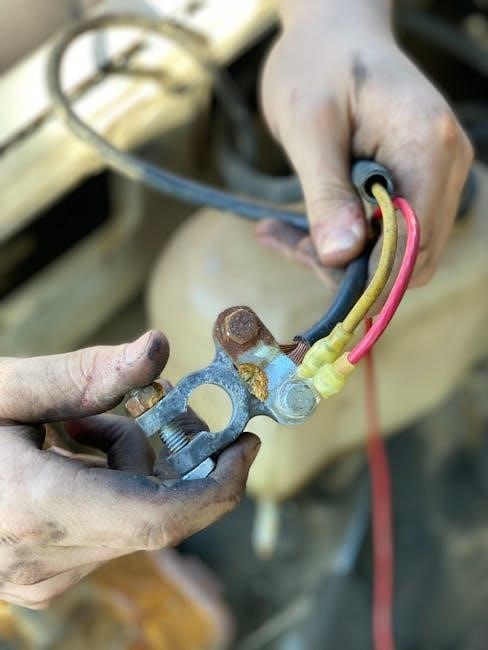
Spade terminals are frequently used when connecting wires to the Dometic control board‚ particularly for heater connections. A manual will illustrate the correct placement‚ often involving a two-wire cable consisting of red and white wires. Securely attaching these terminals ensures a reliable electrical connection‚ vital for proper heating function.
Proper crimping and insertion are essential; loose connections can cause intermittent heating or complete failure. Always verify a firm grip on the terminal before powering the system. Refer to the wiring diagram for precise locations and polarity. Correct spade terminal usage is a fundamental aspect of a successful thermostat wiring installation.

Wiring Diagrams & Configurations
Dometic systems utilize Cat 5 cabling to the black box‚ with configurations varying between single and multi-zone setups; a manual is crucial;
Hardwired System Wiring – Step-by-Step
Begin by carefully disconnecting power to the RV to ensure safety during the wiring process. Locate the Dometic black box control board‚ the central hub for your climate control system. Connect the Cat 5 cable from the thermostat to the designated port on the black box – proper seating is vital.
Identify the heater wires‚ typically a red and white pair‚ and securely attach the supplied spade terminals. Ensure a firm connection to the corresponding terminals on the control board. For AC wiring‚ follow the manual’s diagram precisely‚ paying close attention to wire colors and terminal locations.
Double-check all connections before restoring power‚ verifying that no wires are loose or improperly seated. A correctly wired system will allow seamless control via the indoor touch pad.
Connecting to the Dometic Black Box (Cat 5 Cable)
The Cat 5 cable is the communication lifeline between your Dometic thermostat and the central control board‚ often referred to as the “black box.” Locate the designated RJ45 port on the black box; it’s typically labeled for thermostat connection. Carefully insert the Cat 5 cable connector into the port‚ ensuring a secure and audible click.
Avoid bending or crimping the cable excessively‚ as this can disrupt the signal. Refer to your manual’s wiring diagram to confirm the correct port location‚ as variations exist between models. Proper connection is crucial for the thermostat to send commands and receive status updates.
A faulty connection can manifest as unresponsive controls or inaccurate temperature readings.

Wiring for Single-Zone vs. Multi-Zone Systems
Dometic RV climate control wiring differs significantly between single and multi-zone setups. Single-zone systems utilize a simpler wiring configuration‚ typically involving a single thermostat controlling the entire RV’s climate. Multi-zone systems‚ however‚ require individual wiring runs from the black box to each thermostat‚ enabling independent temperature control in different areas.
The manual will detail specific wiring schematics for each configuration. Ensure correct zone identification during wiring to avoid operational errors. Incorrect wiring can lead to zones operating in unison or failing to respond altogether.
Properly configured DIP switches are also essential for multi-zone recognition.
Troubleshooting Common Wiring Issues
A manual aids in diagnosing issues like no power‚ unresponsive AC‚ or heating failures; check connections‚ Dometic black box settings‚ and wiring integrity carefully.
No Power to the Thermostat
If your Dometic RV thermostat receives no power‚ begin by verifying the main power supply to the RV’s control board. Consult your manual for fuse locations related to the climate control system – a blown fuse is a common culprit.
Next‚ meticulously inspect all wiring connections at both the thermostat itself and the Dometic black box. Ensure the Cat 5 cable and other wires are securely fastened to their respective terminals. A loose connection can interrupt power flow.
Use a multimeter to test for voltage at the thermostat’s wiring harness; confirm it’s receiving the expected voltage from the control board. If voltage is present at the harness but the thermostat remains dark‚ the unit itself may be faulty and require replacement. Remember safety first!
AC Not Responding to Thermostat Commands
When your Dometic RV’s AC unit fails to respond to thermostat commands‚ first double-check the thermostat settings – ensure it’s in “Cool” mode and the set temperature is lower than the ambient temperature. Refer to your manual for proper operation.
Inspect the wiring between the thermostat‚ the Dometic black box‚ and the AC unit itself. A faulty Cat 5 cable connection or damaged wires can disrupt communication. Verify the DIP switch settings on both the thermostat and control board are correctly configured for your system.
Test the AC unit directly (bypassing the thermostat) to determine if the issue lies with the AC itself or the control system. If the AC runs when directly powered‚ the problem is likely within the wiring or thermostat configuration.
Heating Issues & Wiring Checks
If your Dometic RV’s heating system isn’t functioning‚ begin by confirming the thermostat is set to “Heat” mode and the desired temperature is higher than the current cabin temperature – consult your manual for specifics. Inspect the red and white heater wires‚ ensuring secure connections at the spade terminals and the control board.
A common issue involves a loose or corroded wire connection. Carefully examine all wiring related to the heating system‚ paying close attention to the Cat 5 cable connecting the thermostat to the Dometic black box.
Gas system problems can also mimic electrical issues; check the gas valve and burner for proper operation. A faulty gas valve can prevent heating even with correct wiring.
System Configuration & Initialization
Proper Dometic system recognition requires setting the manual’s DIP switches to the “ON” position during installation‚ enabling zone configuration for optimal climate control.
DIP Switch Settings for System Recognition
Dometic RV thermostat systems utilize DIP switches for crucial system recognition during initialization. The manual emphasizes the installer’s role in correctly configuring these switches; Specifically‚ the required system DIP switches must be set to the “ON” position to enable proper communication between the thermostat‚ the black box control board‚ and the RV’s climate control zones.
Incorrect DIP switch settings can lead to various operational issues‚ including the thermostat failing to recognize zones or the AC/heating system not responding to commands. Referencing the specific wiring diagram for your Dometic model is paramount. These settings essentially “tell” the system what type of configuration it’s dealing with‚ ensuring seamless integration and optimal performance. Always double-check these settings before proceeding with further configuration steps.
Zone Configuration Procedures
Proper zone configuration is vital for optimal climate control in multi-zone Dometic RV systems. The manual details that‚ after setting the DIP switches‚ the installer must configure each zone for correct thermostat operation. This process ensures each area of the RV can be independently controlled for temperature. The CCC 2 thermostat requires specific procedures to recognize each zone type.
Typically‚ this involves a sequence of button presses or settings adjustments on the thermostat itself‚ guided by the wiring diagram. Accurate zone identification allows for customized comfort levels throughout the RV. Incorrect configuration can result in uneven heating or cooling‚ or the thermostat failing to manage certain areas effectively. Careful adherence to the manual’s instructions is crucial for a fully functional system.

Advanced Considerations

Dometic systems may integrate with One-Touch RV controls‚ and LCD display variations exist; gas system issues can also impact wiring‚ per the manual.
Integrating with One-Touch RV Systems
Many modern RVs feature centralized control systems‚ often marketed as “One-Touch‚” which aim to simplify operation of various components‚ including climate control. Integrating a Dometic thermostat into such a system frequently necessitates bypassing the traditional thermostat interface. As noted in online discussions‚ a direct‚ hardwired connection to the Dometic black box‚ utilizing a Cat 5 cable‚ is often required.
This configuration allows the indoor touch pad of the One-Touch system to manage the AC and heating functions‚ effectively rendering the standalone Dometic thermostat obsolete. Careful attention to wiring diagrams is crucial during this process‚ ensuring correct connections to the control board. It’s important to consult both the Dometic thermostat manual and the documentation for your specific One-Touch system for detailed instructions.
Understanding LCD Display Variations
The information presented on the LCD display of a Dometic RV thermostat can differ significantly based on the specific system installed within your recreational vehicle. These variations aren’t necessarily indicative of a malfunction‚ but rather a reflection of the system’s configuration and capabilities. The installer plays a key role in setting the system’s DIP switches‚ which dictate how the thermostat interprets and displays information.
Consulting the manual for your particular Dometic model is essential to understand the meaning of different codes or symbols appearing on the LCD. Variations can relate to zone configuration‚ system type‚ and even the presence of additional components. Proper interpretation of the display is vital for effective troubleshooting and maintaining optimal climate control within your RV.
Gas System Issues & Potential Wiring Impacts
Problems with your RV’s gas system can sometimes manifest as issues seemingly related to the Dometic thermostat or climate control. A weak flame or inconsistent gas flow can lead to poor cooling performance‚ even if the thermostat is functioning correctly. Reports indicate issues like a good flame but insufficient cooling‚ potentially stemming from problems with the burner‚ solenoid valve‚ or gas supply lines.
While the thermostat wiring itself may not be directly at fault‚ a malfunctioning gas system can impact the signals sent to the control board. Always check gas connections and components before assuming a wiring issue. Refer to your manual for troubleshooting gas-related problems and ensure proper ventilation during operation.
Resources & Support
Dometic provides official documentation‚ while online RV forums offer community support; for complex issues‚ consider consulting a professional RV technician for assistance.
Dometic Official Documentation
Dometic’s website is the primary source for comprehensive manuals and wiring diagrams specific to your RV thermostat model. These resources detail installation procedures‚ troubleshooting guides‚ and component specifications‚ ensuring accurate system setup. Accessing the correct documentation is crucial‚ as variations exist between CCC 2 thermostats and digital series models.
Look for documents outlining DIP switch settings for system recognition and zone configuration. Dometic often provides downloadable PDFs detailing hardwired system connections‚ including Cat 5 cable usage for the black box control board. These official guides are regularly updated to reflect product improvements and address common user inquiries‚ offering the most reliable information for maintaining your RV’s climate control system.
Online Forums & RV Communities
Numerous online forums and RV communities offer valuable insights and shared experiences regarding Dometic thermostat wiring. These platforms often feature discussions on troubleshooting common issues‚ like “no power” scenarios or AC units not responding. Members frequently share photos of their wiring setups‚ including connections to the Dometic black box using Cat 5 cables‚ providing visual aids for DIY repairs.
Searching these forums with keywords like “manual‚” “wiring diagram‚” or specific model numbers (e.g.‚ CCC 2) can yield practical solutions. However‚ always verify information from forums with official Dometic documentation to ensure accuracy and safety before attempting any electrical work on your RV’s climate control system.
Professional RV Technician Assistance
When facing complex Dometic thermostat wiring challenges‚ or lacking confidence in DIY repairs‚ seeking assistance from a certified RV technician is highly recommended. Technicians possess specialized knowledge of Dometic systems‚ including the intricacies of the black box control board and Cat 5 cable connections.
They can accurately diagnose issues‚ interpret wiring diagrams‚ and perform necessary repairs safely and efficiently. A professional can also assist with system configuration‚ like setting DIP switches for proper zone recognition‚ ensuring optimal performance. While a manual provides guidance‚ a technician offers expertise‚ especially for hardwired systems or integration with One-Touch RV controls.