
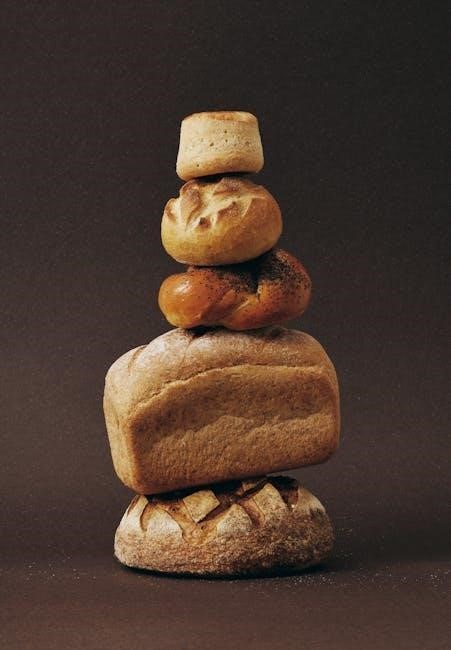
Welcome to our comprehensive guide on Cocoa Wheat instructions! Discover how to create this delicious treat by following simple steps and essential baking processes for perfect results every time.
Overview of Cocoa Wheat and Its Popularity
Cocoa Wheat has gained popularity for its delicious blend of rich cocoa flavor and hearty wheat texture, offering a unique twist to traditional baked goods. Its appeal lies in its versatility, as it can be crafted into cookies, bread, or even waffles. The combination of chocolatey goodness with wholesome ingredients makes it a favorite among both bakers and consumers. Its rise in popularity is also driven by the ease of customization, allowing bakers to experiment with various additions like nuts or spices, making it a timeless and adaptable recipe.
Essential Ingredients for Cocoa Wheat Recipes
Key ingredients include flour, cocoa powder, sugar, baking powder, salt, eggs, milk, melted butter, and chocolate chips for enhanced flavor.
Key Components and Their Roles in the Recipe
Flour provides structure, while cocoa powder adds rich, chocolatey flavor. Sugar enhances sweetness, and eggs contribute moisture and binding properties. Melted butter or oil ensures tenderness, and leavening agents like baking powder promote rise. Chocolate chips offer bursts of flavor, and milk aids hydration. Salt balances sweetness, and vanilla extract enhances aroma. Proper ratios of these components ensure a moist, flavorful, and well-textured final product, making each element crucial for achieving the desired outcome in Cocoa Wheat recipes.

Step-by-Step Preparation Guide
Gather ingredients, mix dry components, and combine wet ingredients separately. Gradually blend mixtures, ensuring a smooth batter. Proceed to shape and bake for the best results.
Mixing Dry Ingredients
Begin by combining flour, cocoa powder, sugar, baking powder, and salt in a large bowl. Whisk thoroughly to ensure an even distribution of flavors and textures. Sifting the ingredients beforehand can help eliminate lumps and aerate the mixture. This step is crucial for achieving a consistent flavor and proper chemical reactions during baking. Use a whisk or sieve to mix until the dry ingredients are well-integrated and evenly colored. Accuracy in measuring and mixing ensures the best results in your Cocoa Wheat recipe.
Combining Wet Ingredients
In a separate bowl, whisk together milk, eggs, melted butter, and vanilla extract until smooth. Ensure all ingredients are at room temperature for optimal mixing. Gradually add the wet mixture to the dry ingredients, stirring gently to avoid overmixing. This step helps create a uniform batter, blending flavors and moisture effectively. Properly combining wet ingredients ensures the dough develops the right consistency and texture for baking. Avoid over-stirring to prevent a dense final product, as this can affect the rise and softness of the Cocoa Wheat.
Initial Dough Formation
After combining wet and dry ingredients, gently fold until a cohesive dough forms. Be careful not to overmix, as this can lead to a dense texture. If using a stand mixer, use a low speed setting. The dough should be smooth and slightly sticky. If needed, add a little more flour or milk to achieve the right consistency. Once formed, cover the dough with plastic wrap or a damp cloth to prepare for resting, a crucial step for gluten relaxation and flavor development.
Baking Instructions for Cocoa Wheat
Bake your Cocoa Wheat at 350°F (175°C) for 20-25 minutes. The edges should be set, and a toothpick inserted should come out clean. Let cool slightly before slicing.
Preheating the Oven
Preheating the oven is a crucial step to ensure even baking. Set your oven to 350°F (175°C) and let it preheat for 10-15 minutes. This allows the oven to stabilize at the correct temperature, which is essential for achieving the right texture in your Cocoa Wheat. Use an oven thermometer to verify the temperature accuracy. Once preheated, ensure the oven is empty and ready for baking before placing your dough inside. Proper preheating prevents uneven cooking and promotes a consistent bake.
Shaping the Dough
Gently handle the dough to avoid overworking it, which can lead to toughness. Divide the dough into uniform portions for consistent baking. Shape each portion into desired forms, such as balls or logs, ensuring even thickness. Place shaped dough on parchment-lined baking sheets, leaving adequate spacing for expansion. If dough is too sticky, lightly dust with flour; if too dry, add a touch of liquid. Proper shaping ensures even baking and a delightful texture in your Cocoa Wheat creation.
Baking Process and Timing
Preheat the oven to 375°F (190°C). Place the shaped dough on a parchment-lined baking sheet, leaving about 2 inches of space between each piece. Bake for 12-15 minutes, or until the edges are lightly golden. Avoid overbaking to maintain chewiness. Rotate the baking sheet halfway through for even cooking. Once done, let the Cocoa Wheat cool on the sheet for 5 minutes before transferring to a wire rack to cool completely. Proper timing ensures a soft, flavorful texture.
Importance of Resting the Dough
Resting the dough is crucial for gluten relaxation and yeast activation, ensuring a light, airy texture and proper rise. It enhances flavor development and tenderness.
How Resting Affects the Final Texture
Resting the dough allows gluten to relax, preventing a dense texture and ensuring a tender crumb. It enables even yeast fermentation, which enhances rise and creates a light, airy structure. Proper resting time also improves dough elasticity, making it easier to shape and bake evenly. This step is vital for achieving the desired softness and chewiness in cocoa wheat, as it balances texture and flavor effectively.

Cooling and Storage Tips
Cool cocoa wheat on a wire rack to prevent sogginess. Store in an airtight container at room temperature for up to 5 days for optimal freshness. Freeze for longer shelf life.
Best Practices for Maintaining Freshness
To keep cocoa wheat fresh, cool it completely on a wire rack before storing. Place in an airtight container, keeping it clean and dry. Store at room temperature for up to 5 days or freeze for up to 2 months. Avoid moisture, as it can make the texture soggy. If freezing, thaw at room temperature or reheat gently. For longer shelf life, divide into portions and freeze separately. This ensures freshness and convenience when enjoying your cocoa wheat treats.

Optional Enhancements for Cocoa Wheat
Enhance your cocoa wheat by incorporating optional additions like chopped nuts, cinnamon, or dried fruits for added texture and flavor. These extras can elevate the treat.
Adding Nuts, Spices, or Other Flavorings
Adding nuts like walnuts or almonds introduces a satisfying crunch, while spices such as cinnamon or nutmeg enhance the aroma. Dried fruits or coconut flakes can add sweetness, creating a delightful twist. For a richer flavor, consider incorporating espresso powder or a pinch of salt. These additions not only diversify the taste but also provide texture and depth, making each batch unique. Experiment with different combinations to find your perfect blend, ensuring a personalized touch in every recipe.
Troubleshooting Common Issues
Address common challenges like dry texture by adjusting liquid content or overmixing. Ensure leavening agents are fresh to maintain rise and structure in baked goods effectively always.
Addressing Texture, Flavor, or Consistency Problems
Common issues like dry texture or lack of flavor can arise from overmixing or insufficient liquid. Ensure leavening agents are fresh for proper rise. Too much cocoa can overpower, while too little may dull the flavor. For consistency, avoid overbaking, as it hardens the texture. Adjusting sugar or fat content can also resolve chewiness or softness. Using quality cocoa and precise measurements ensures optimal results. Troubleshoot by testing small batches to identify and correct specific problems effectively before final baking.
Serving Suggestions
Enjoy Cocoa Wheat with a drizzle of chocolate sauce, sprinkled with nuts, or paired with a warm beverage like coffee or milk for enhanced flavor.
Pairing Cocoa Wheat with Beverages or Toppings
Enhance your Cocoa Wheat experience by pairing it with rich beverages like coffee or milk, which complement its chocolatey flavor. For toppings, try adding chocolate shavings, whipped cream, or crushed nuts for texture and sweetness. Some enthusiasts also enjoy drizzling honey or caramel for a sweeter treat. Experiment with vegan options like plant-based milk or dairy-free spreads to cater to all preferences. These combinations elevate the dessert, making it a delightful indulgence for any occasion.
Thank you for following our Cocoa Wheat guide! With fresh ingredients and precise steps, you’ll achieve perfect results. Enjoy experimenting and savoring your delicious creations!
With these Cocoa Wheat instructions, you’re equipped to create delicious treats effortlessly. Always use fresh ingredients for the best flavor and texture. Don’t hesitate to experiment by adding nuts, spices, or other flavorings to make the recipe uniquely yours. Remember, resting the dough and precise baking times are key to achieving the perfect texture. Store your creations properly to maintain freshness and enjoy them for days. Happy baking, and don’t forget to share your creations with friends and family!